Roll, Twist, Glue: Making Fabric Flowers from a Single 1-Inch Strip
A 3-foot strip of fabric, a hot glue gun, and 20 minutes produce a layered flower that stays put on wreaths, hairpins, and dress bodices.
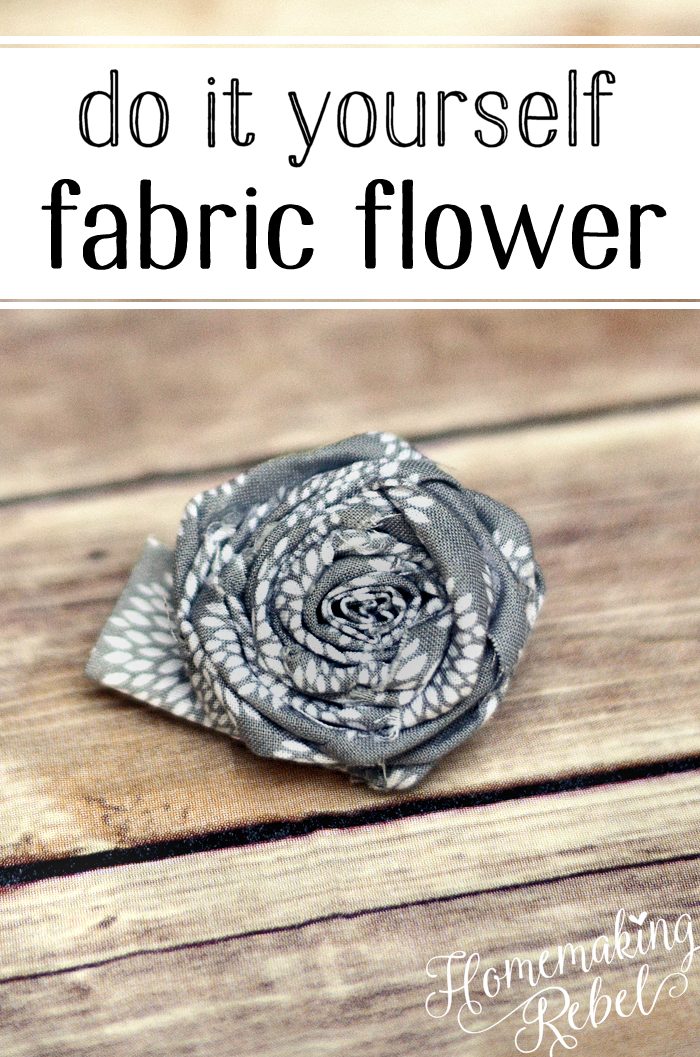
Cut the Strip and Hide the Fray
Start with a rectangle of fabric at least 1 inch wide and 3 feet long. A cut edge frays as soon as you handle it, so before any rolling begins, fold the strip in half lengthwise with the wrong sides together. Run a line of hot glue along the open edge and press the two layers flat. You now have a single strip with one clean, sealed edge and one raw, frayed edge. That frayed side is intentional—it becomes the underside of the petals and disappears into the final flower. The sealed edge is what gives the flower structure, so keep it crisp and straight. While the glue sets, set up your workspace: a flat surface, scissors, and a glue gun with a fresh stick. Do not skip the folding. A raw edge on both sides will shed threads into every twist and roll, and the finished bloom will look fuzzy instead of sharp.
Start the Center Bud with Two Folds
The bud is the anchor. Take the top corner of your sealed strip and fold it down at a 90-degree angle, creating a triangle. Then fold that triangle upward again, so the point stacks on itself. These two folds give you a compact, layered nub to begin rolling. Hold that nub between your thumb and forefinger of one hand—left, if you are right-handed—and start rolling the fabric around it. Roll two or three complete turns until you have a tight, cylindrical bud about the size of a pea. Apply a dab of hot glue to the underside of the bud where the fabric line meets the roll, and press it down for ten seconds. This first glue point is critical; if it fails, the entire flower unravels before a single petal forms. Keep the raw edge facing down as you work. Once the bud holds, you are ready to build petals around it.
Twist, Roll, and Glue the Petals
Holding the bud in your left hand, take the trailing fabric line in your right and twist it at a long angle. Roll the bud forward along that fold until you reach the end of the twisted section, then press a dot of glue where the fabric meets the base. After that first glue, the frayed edge will have flipped to the top. Give the entire strip a full twist so the sealed edge returns to the top. Roll again to the end of that fold and glue. Alternate these two moves: a long-angle twist and roll, then a full twist to reset the edge. For the first three or four petals, glue every single fold. Once the shape holds, you can switch to gluing every second or third roll, which speeds up the process without losing stability. The key is consistent tension—roll firmly enough to keep the folds tight, but not so hard that the fabric stretches out of shape.
Gradually Rise to Build the Bloom
As you repeat the twist-and-roll cycle, your flower will stay flat if you keep the fabric line level. To turn it into a bloom, you need to raise the working angle slightly every few rotations. Each time you finish a roll, lift the trailing fabric a small amount before starting the next twist. This gradual upward movement stacks the petals in a natural spiral, with each new layer slightly higher than the last. Resist the urge to yank the fabric upward all at once, which creates gaps between petal layers. Keep going until you have roughly 3 inches of strip left unrolled. That remaining tail is your handle for closing the flower and a safety margin if you need to adjust the final shape. You will feel the flower compacting as you rise; that compression is what gives the petals their cupped look.
Close the Back and Cut the Tail
Once all petals are in place and the flower is the size you want, take the remaining 3 inches of fabric and wrap it around the bottom base of the flower, covering the glued seams. Apply a few good dabs of hot glue as you wrap—one at the start, one in the middle, and one at the end—to hold the tail snugly against the underside. You have two options for the leftover piece: let it hang as a decorative stem, which works well if you are attaching the flower to a wire or stick, or cut it flush with the base for a clean, flat back. To cut flush, trim the tail to about 1/4 inch, then press it down with a fresh dot of glue. Let the whole flower cool for five minutes before handling. The finished piece is ready to hot-glue onto a hair clip, a wreath, or a dress strap without any visible raw edges on the front.
Keep reading
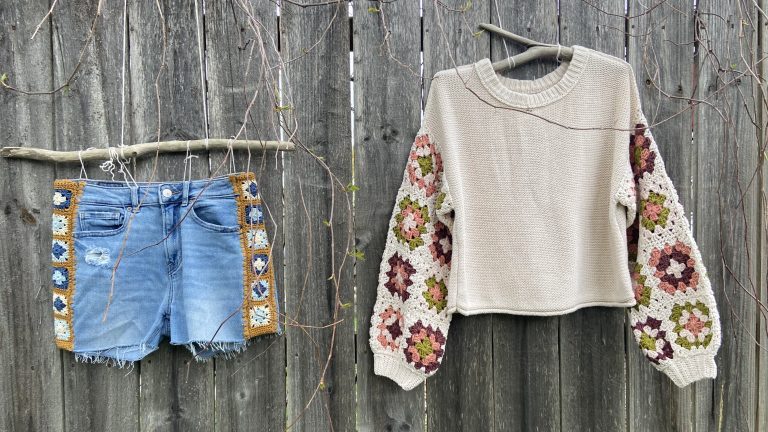
6 Crochet Upcycling Lessons from Brenda K.B. Anderson
Brenda K.B. Anderson's six-lesson course shows how to salvage yarn, resize denim with granny squares, and open seams — plus how to teach these techniques to others.

9 Fall Crafts From Dollar Tree for Under $2
From paper sack turkeys to glow-in-the-dark pumpkins, these nine projects use Dollar Tree supplies—including coloring table covers, wooden signs, stickers, and felt harvest crafts—to keep kids busy without breaking the bank.
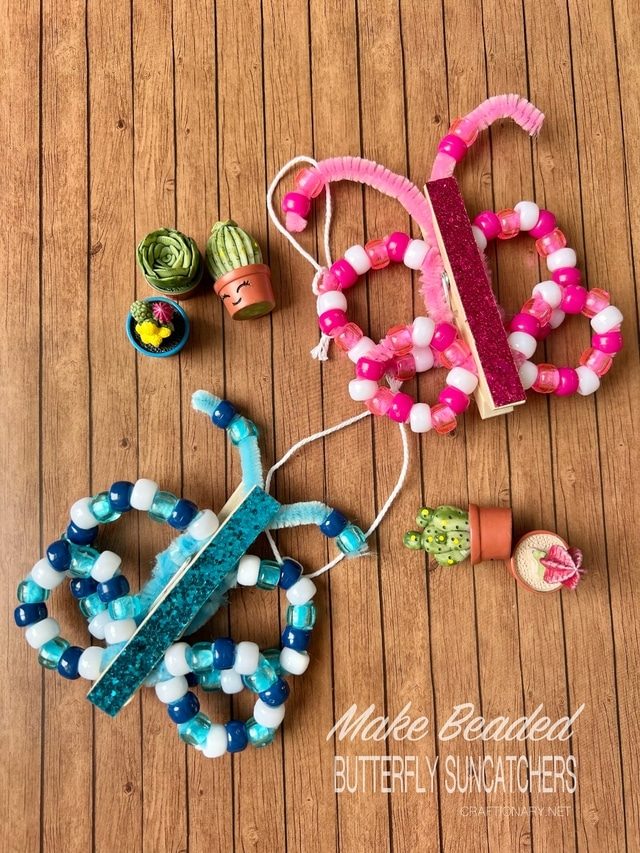
Pipe Cleaners, Pony Beads, and a Clothespin: A Suncatcher That Repays Attention with Calm
Build the wing structure, assemble the body and finishing touches, then explore variations—each step turns simple supplies into a window ornament with a meditative pull.