Two DIY Projects, One Lesson: Patience and the Right Tools Beat Speed Every Time
From faux stone door surrounds to perfect wood circles, these home projects prove that working in stages and choosing specialized guides over brute force delivers cleaner results.
Heat, Time, and the Old-House Reality
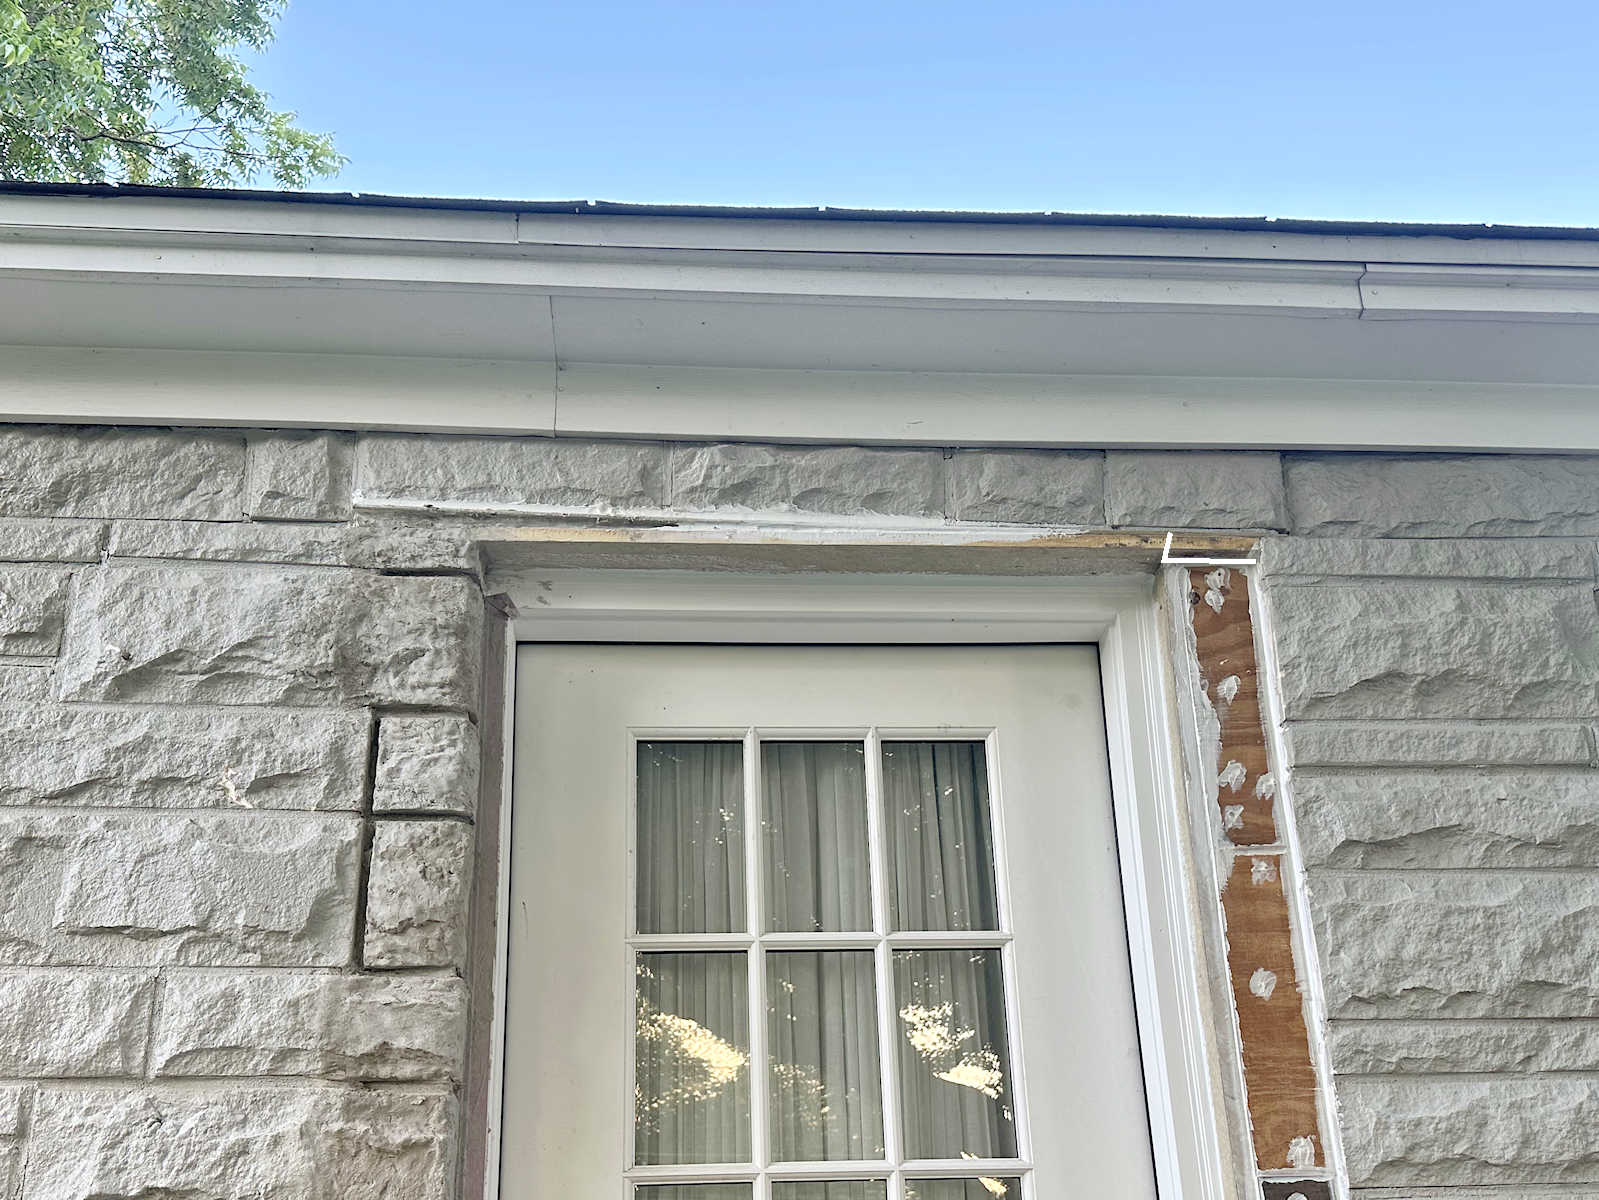
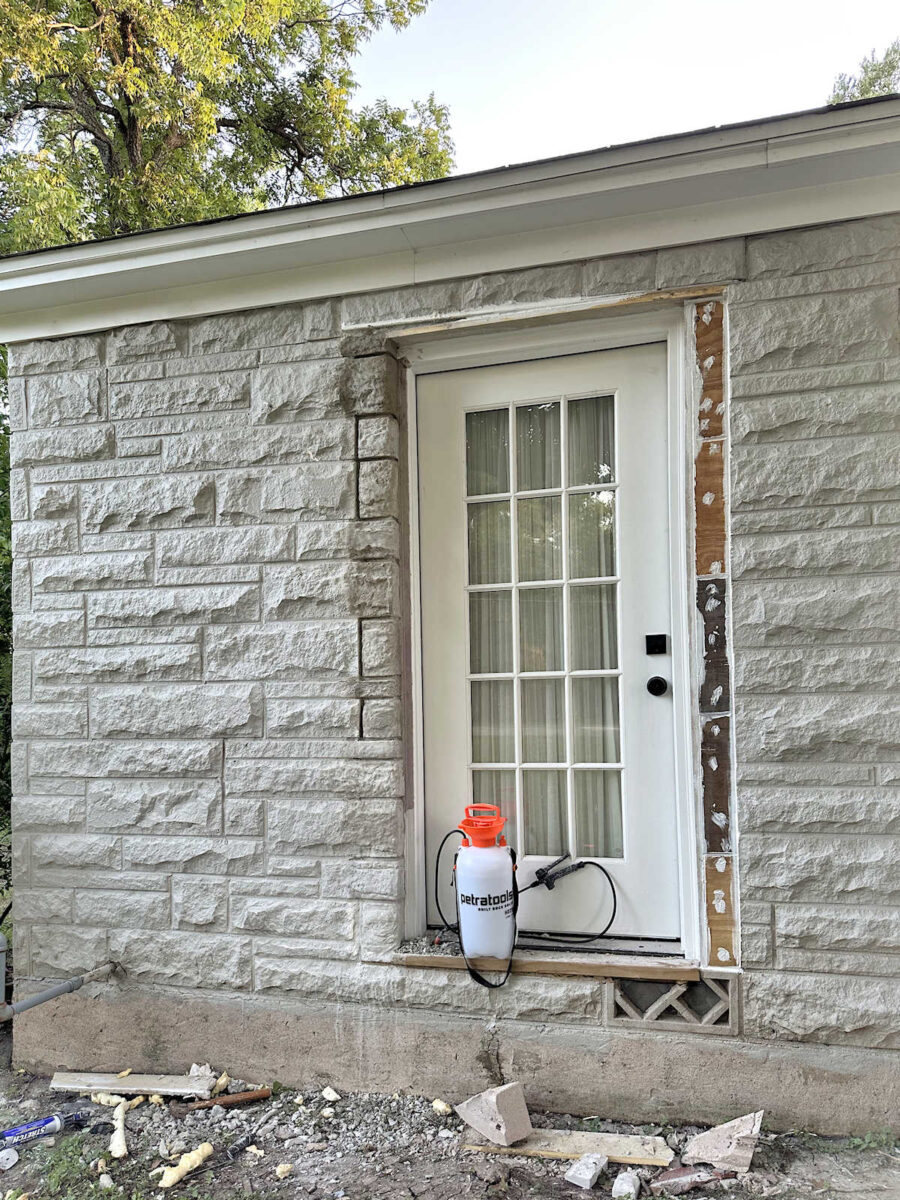
A DIYer in Texas tackled replacing Hardie trim with faux concrete stones on a bedroom door exterior in 101-degree heat that felt like 110 degrees. The project demanded frequent hydration breaks and stretched beyond a single day because concrete requires a minimum four-hour cure before priming and painting. Working on a house with original structural elements introduced another constraint: a thick, unlevel metal plate across the top of the door frame that could not be modified. The solution involved using a Dremel Multi-Max to cut away the portion of Hardie trim extending past the door framing, allowing the final stone to carry up to the metal piece rather than dead-ending into trim. Filling the resulting gap from the unlevel metal plate remains unsolved—concrete will not bond to caulk or metal, so alternative approaches are being explored.
Circle Guides Eliminate the Jig-Building Step
Cutting a clean wood circle traditionally means fabricating a custom jig, measuring pivot points, and fighting a jigsaw along a penciled line. A circle guide attaches to the trim router and accepts a pivot pin set to any diameter up to 52 inches. The operator drills a small pivot hole at the center of the workpiece, drops the pin in, and guides the router around the arc. For a 22-inch door hanger circle cut from three-quarter-inch project panel, the process required multiple passes at quarter-inch depth increments, flipping the board for the final pass to prevent tear-out on the exit side.

When Structure Dictates Design
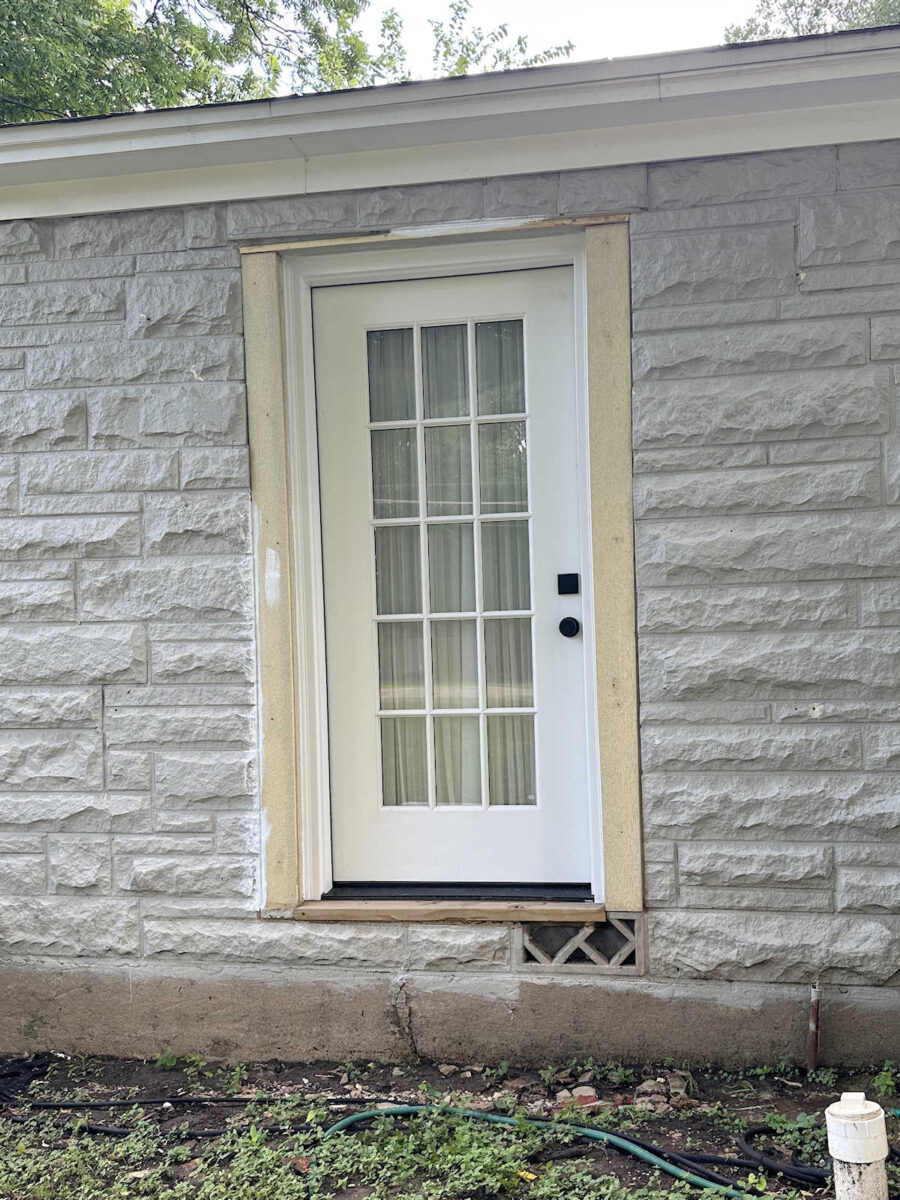
The faux stones on the left side of the bedroom door are complete and awaiting mortar, primer, and paint once both sides are finished. The stones are not an exact match for the original house stone, but the door sits off to the side of the porch rather than at its center, and from a distance the mismatch is not apparent.
Finishing Steps That Separate Clean From Sloppy
After cutting the 22-inch circle, the pivot hole was filled with wood filler and sanded flush once dry. Sanding proceeded with 80-grit followed by 120-grit on a Kreg Random Orbit Sander, a step the builder describes as making a visible difference in how stain absorbs. The circle was elevated on Kreg Project Blocks during sanding to avoid marring the back edge against the work surface. A coat of Behr Rustic Brown stain went on first, then lettering cut from eighth-inch MDF on a Glowforge laser cutter was spray-painted black and glued to the front. A scrap piece of pole wrap, left over from a Modern Square Coffee Table build, was traced onto the lower half of the circle, cut with scissors, and glued in place for texture. Two sawtooth hangers on the back completed the mounting hardware.
Multiple Passes Beat One Deep Cut
Both projects reward incremental work over forcing a single aggressive pass. The circle cut required at least three passes at quarter-inch depth to work through three-quarter-inch material, and the final pass from the opposite side of the board kept the exit edge clean. The faux concrete stones were applied over multiple sessions separated by weather delays and curing time. The builder, who has more than 30 years of DIY experience, notes that unrealistic time estimates persist regardless of experience level—her mother sent a similar observation in a family group chat the same morning.
Keep reading

Blum Tandem Drawer Slides: A Woodworker's Field Guide to Sizing, Locking Devices, and the Bore That Trips Everyone Up
The Austrian hardware is bulletproof once it's installed — but getting there means decoding a confusing part matrix, cutting a notch most people forget, and ordering twice as many locking devices as you think you need.

Ten DIY Candle Holders: From Scrap Wood and Concrete to Dyed Veneer and Clay
A week's crop of candle-holder builds using everyday materials—cardboard boxes, fence posts, pallets, and oven-baked clay—each with a specific step or tool to get right.

6 Auto-Insurance Moves That Lower Your Premium, Not Your Protection
Understanding full coverage, using repair costs to set deductibles, cleaning your record, stacking discounts, weighing service over price, and blending digital quotes with human advice—these six tactics cut costs without cutting coverage.